Skip to main content
How to Create Your Wiki Hero Page on Wiki.ForYouPage.Org
Step 1. Sign Up or Log In
-
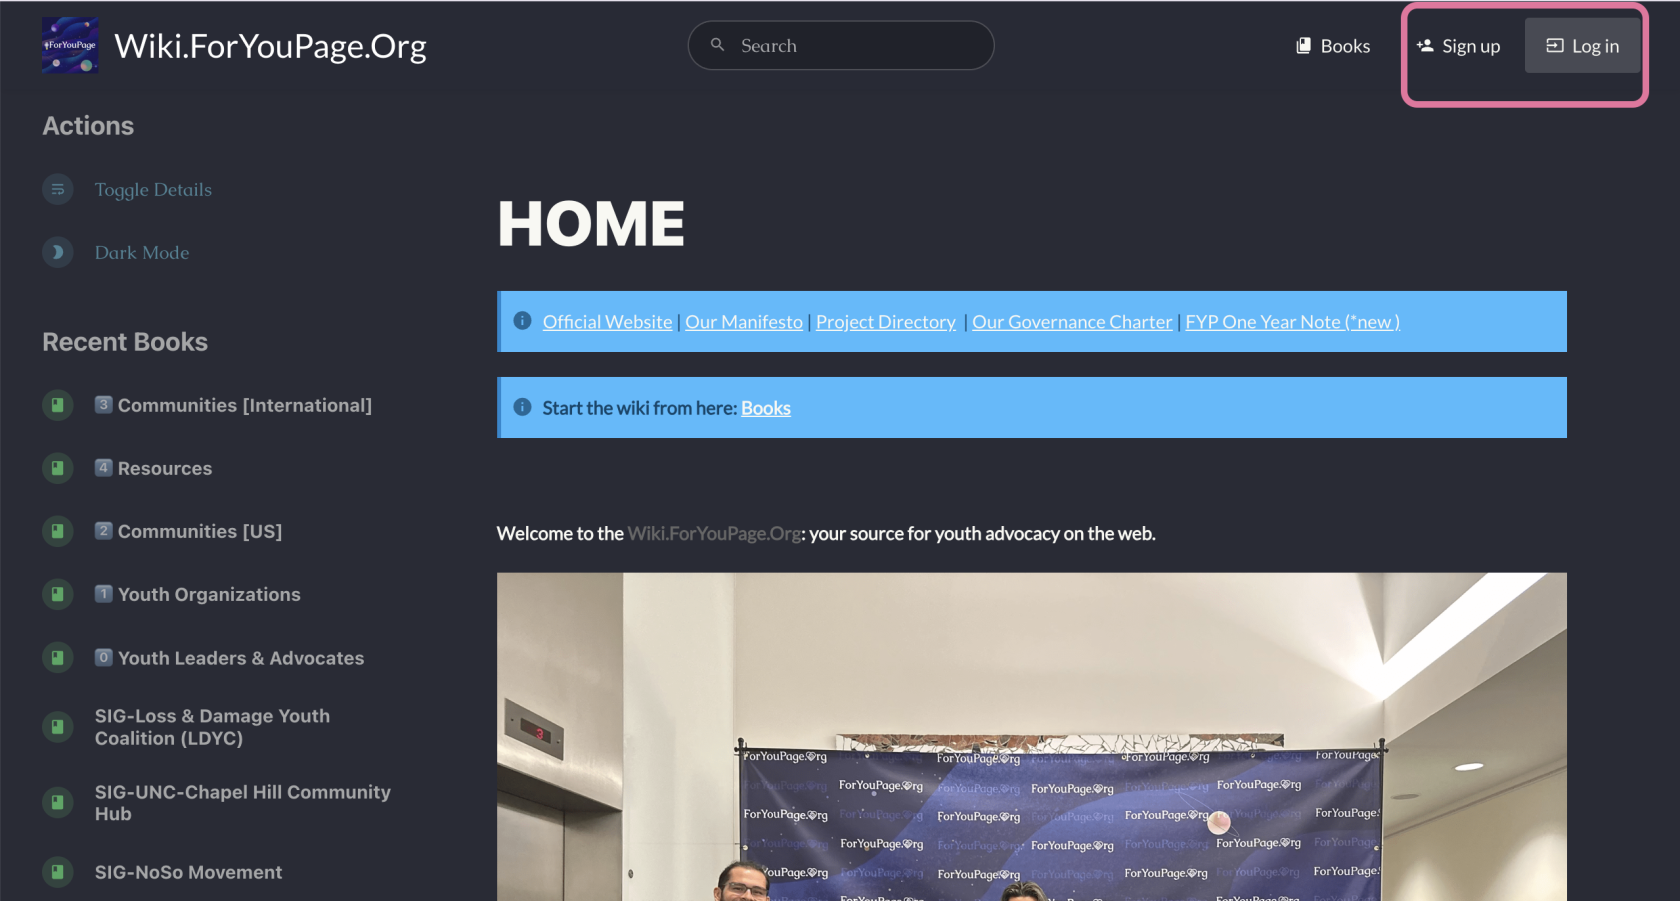
- Look for the user icon in the top right corner of the page.
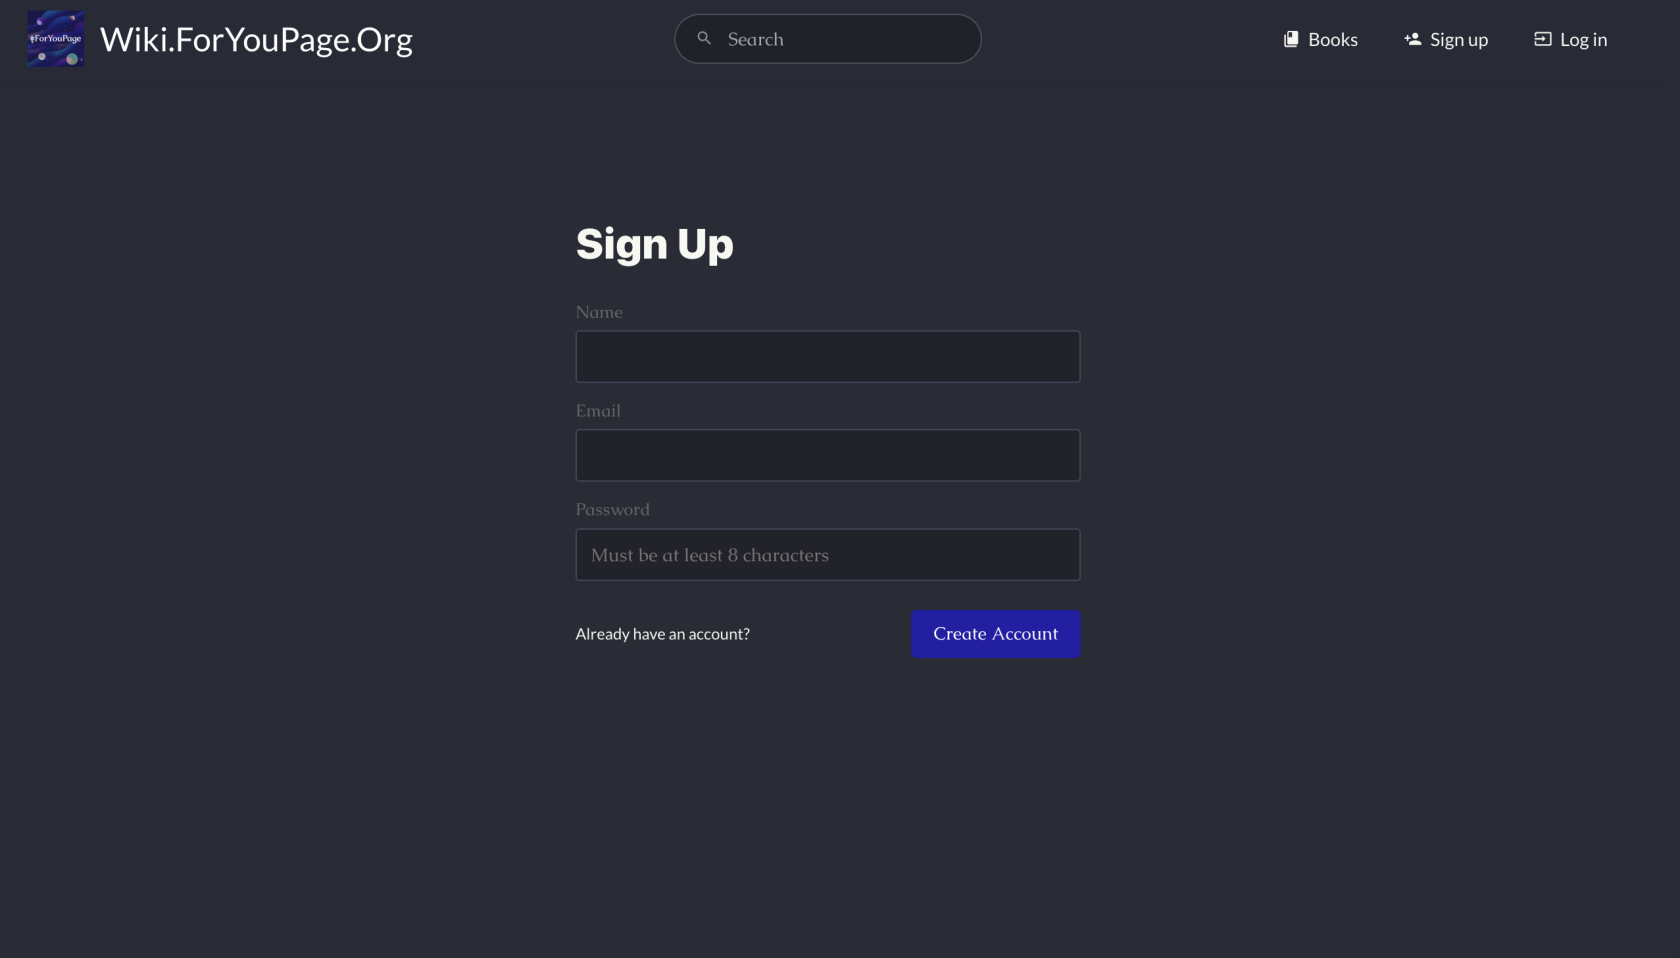
- If you don't have an account, click "Sign Up" and follow the registration process.
- If you already have an account, click "Log In" and enter your credentials.
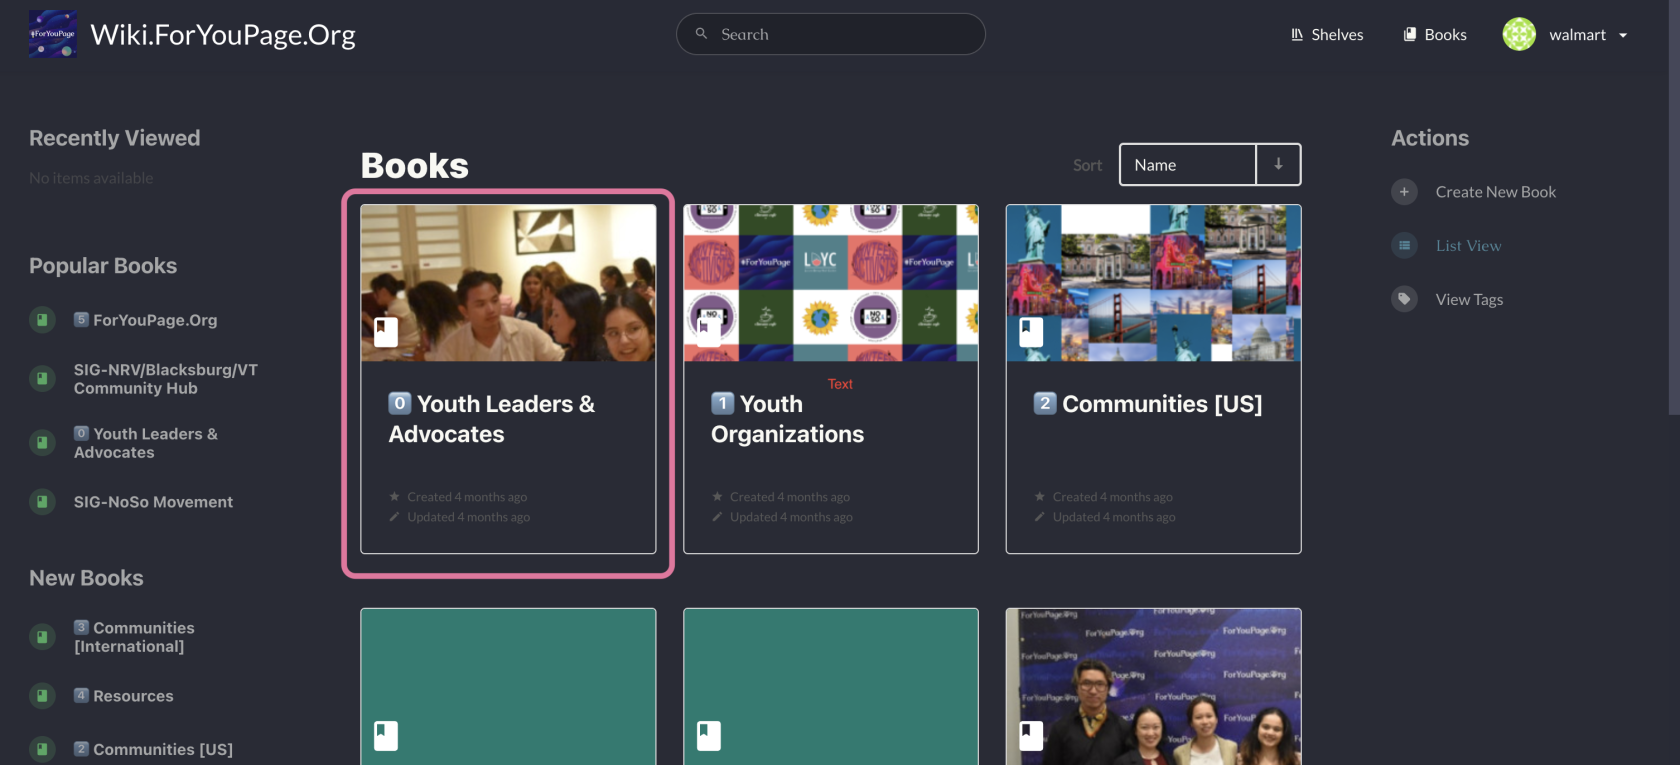
Step 2. Navigate to the Youth Leaders & Advocates Book
-
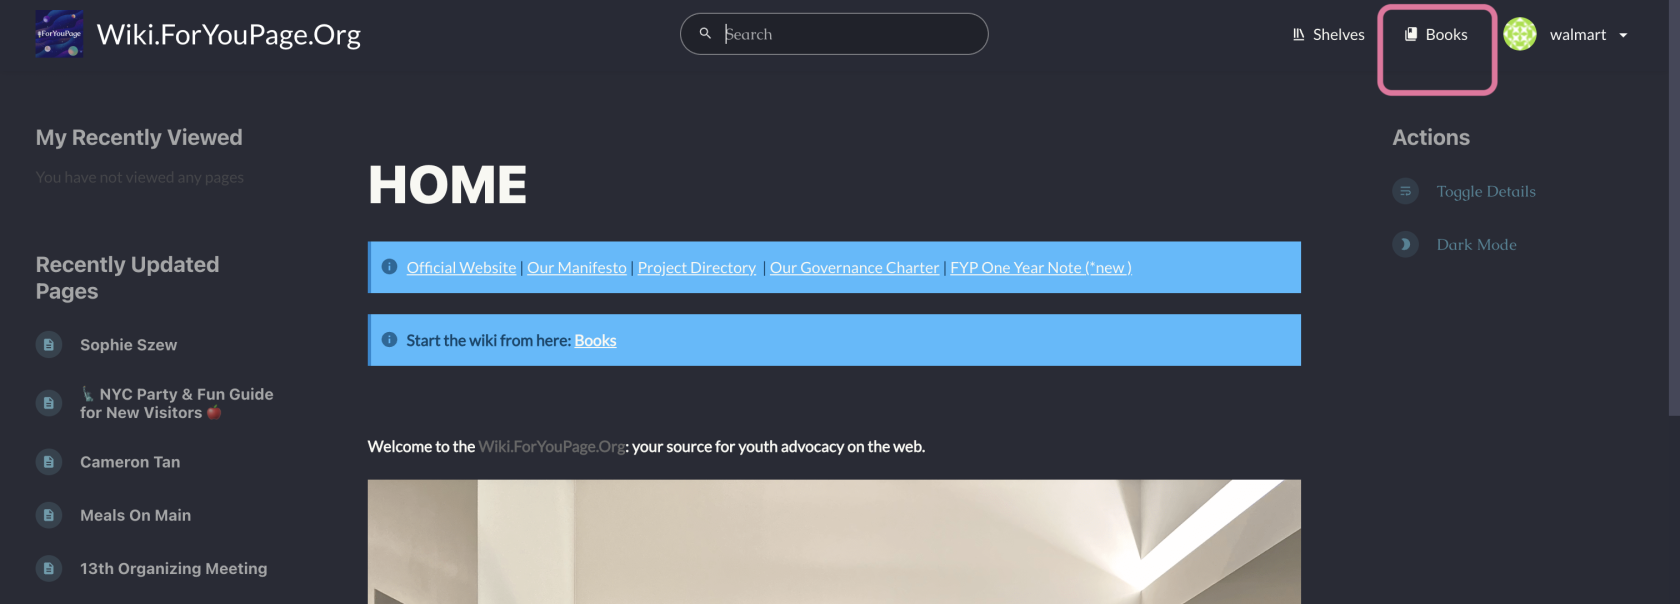
- Click on "Books" in the top navigation bar.
- Scroll through the list or use the search function to find "Youth Leaders & Advocates".
- Click on the book to open it.
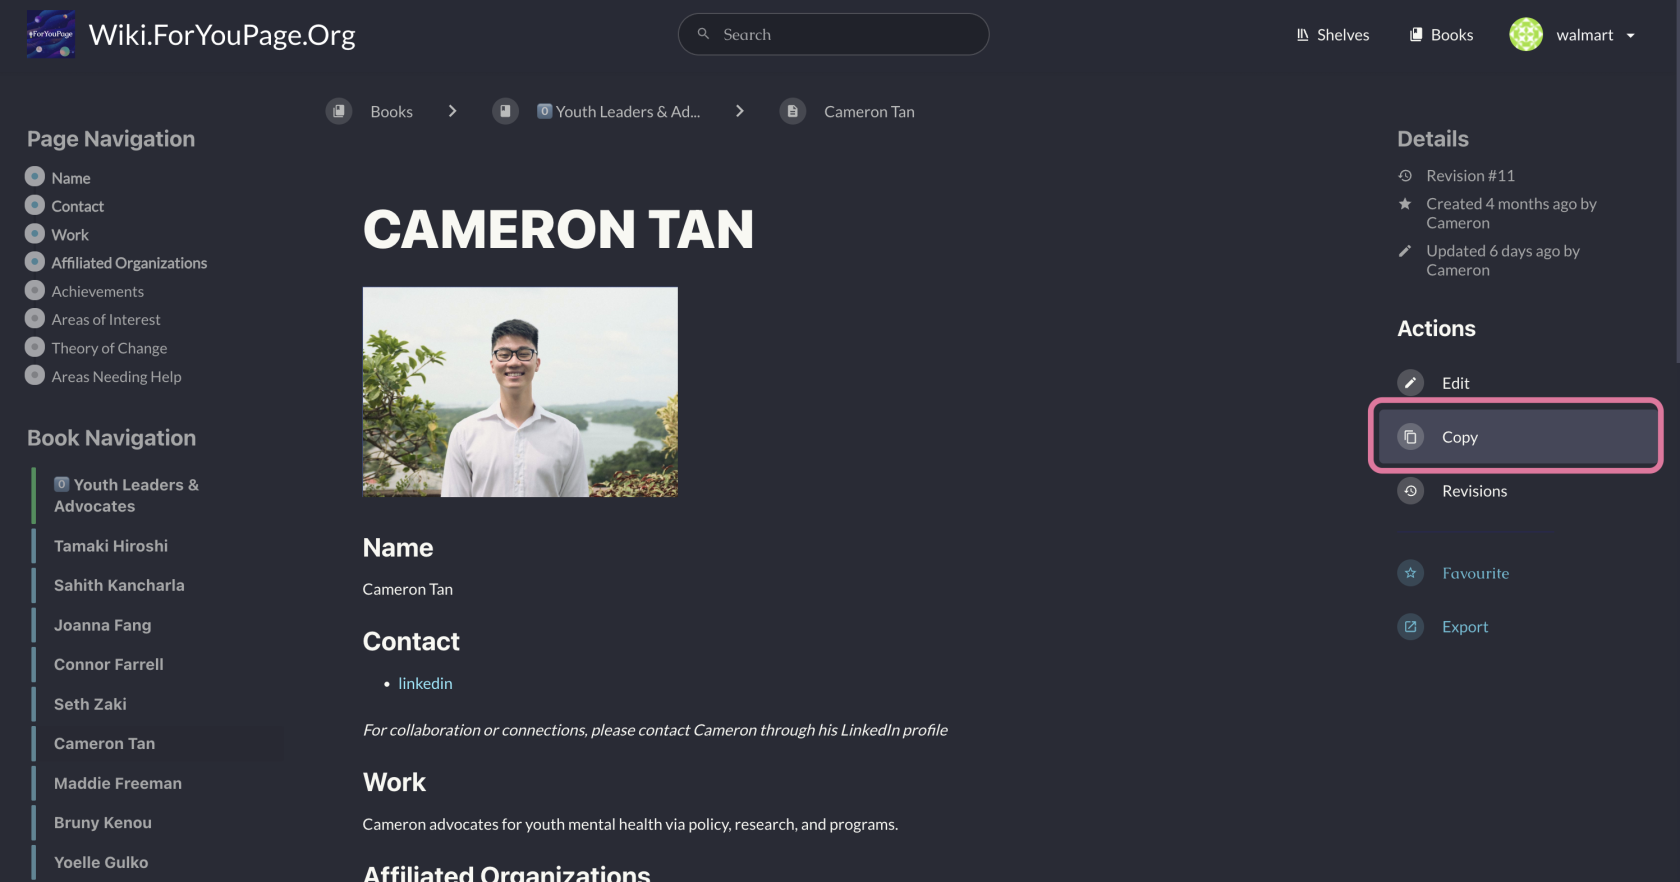
Step 3. Make a Copy of the Template
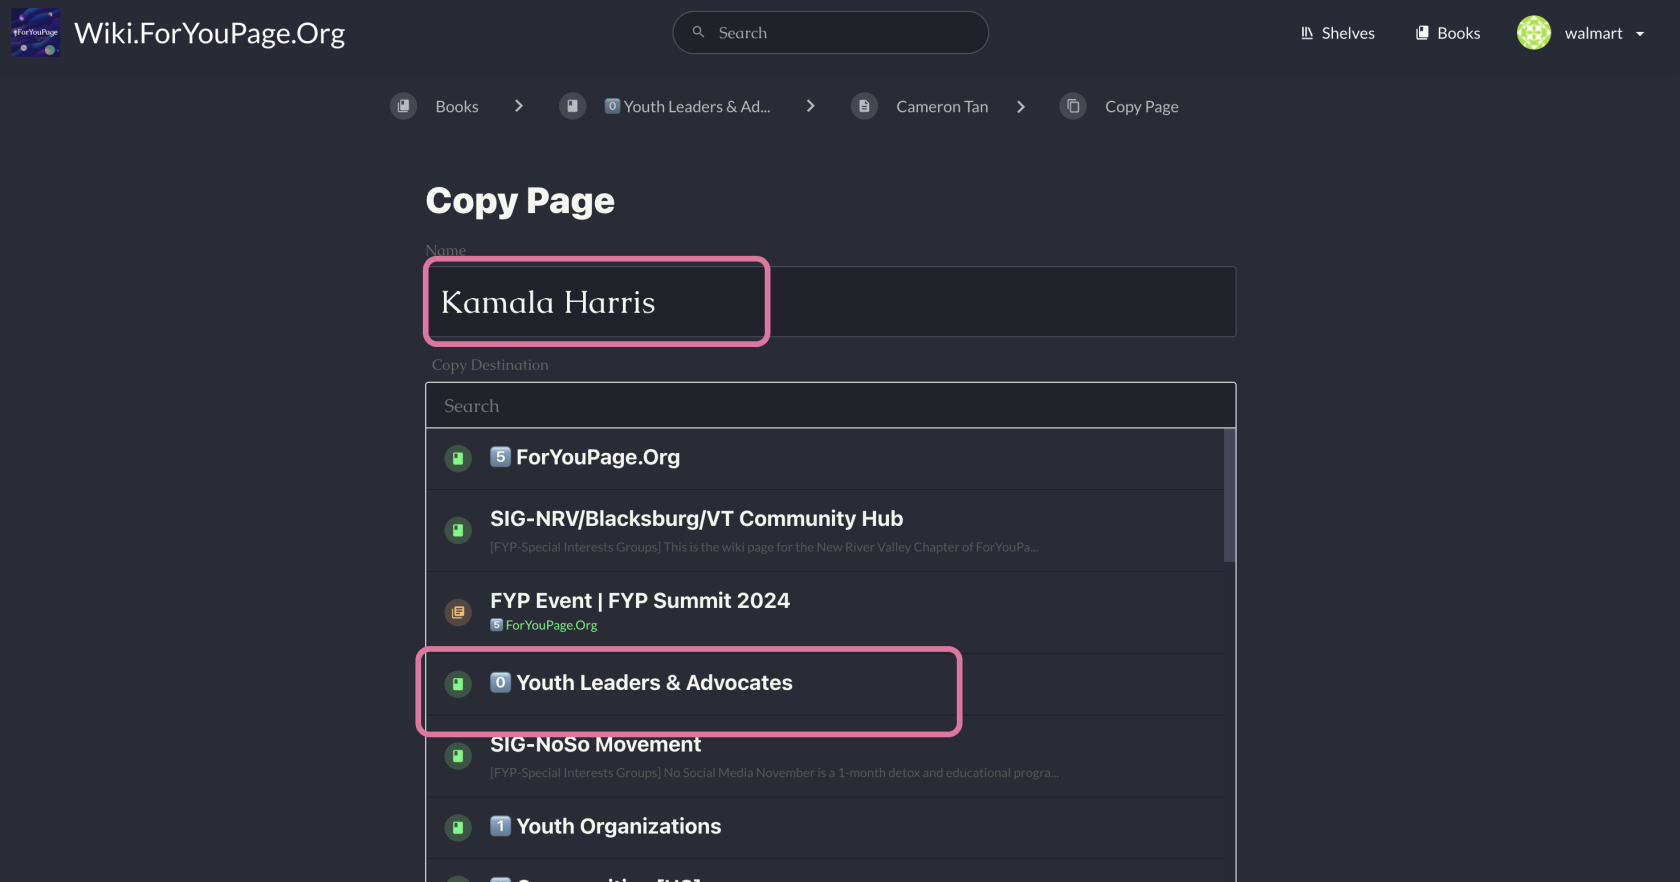
Step 4. Name Your Page
-
- When prompted, enter your full name as the title of your new page.
- Ensure you're still within the "Youth Leaders & Advocates" book when creating your page.
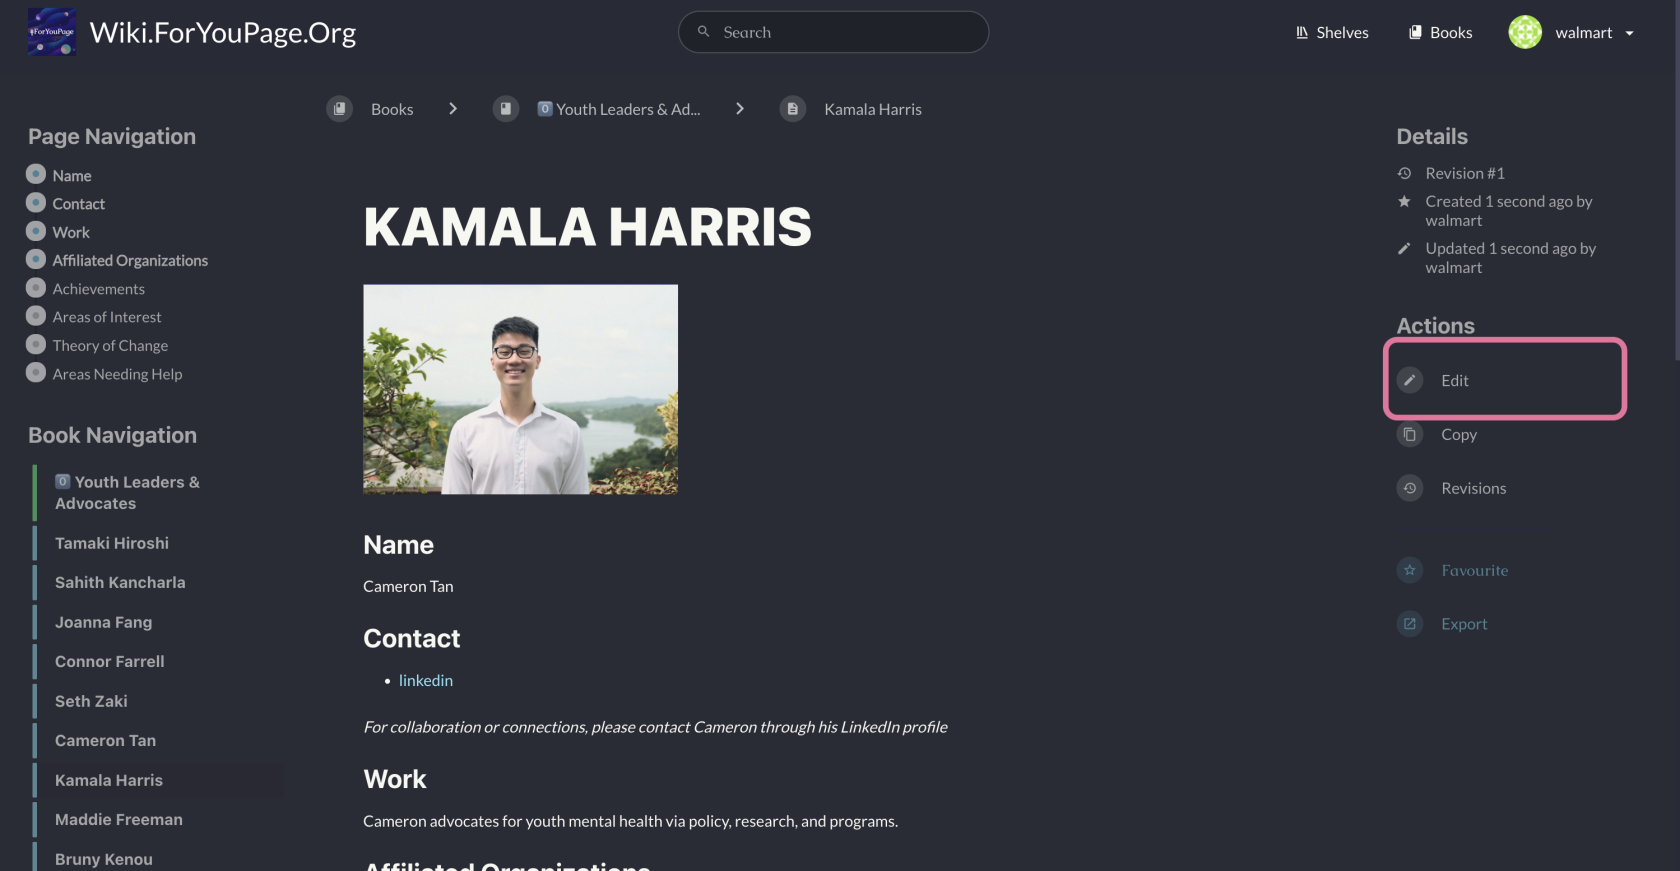
Step 5. Edit Your Page
-
- Once your page is created, click the "Edit" button, typically located near the top of the page.
- You'll enter the editing interface where you can modify the content.
-
Step 6. Add Your Content
- Fill in the following sections using the template structure:
- Name: Your full name
- Contact: Your preferred method of contact (e.g., LinkedIn profile)
- Work: A brief description of your advocacy work
- Affiliated Organizations: List any organizations you're associated with
- Projects: Describe your current or past projects
- Needs/Support: Mention any help or resources you're looking for
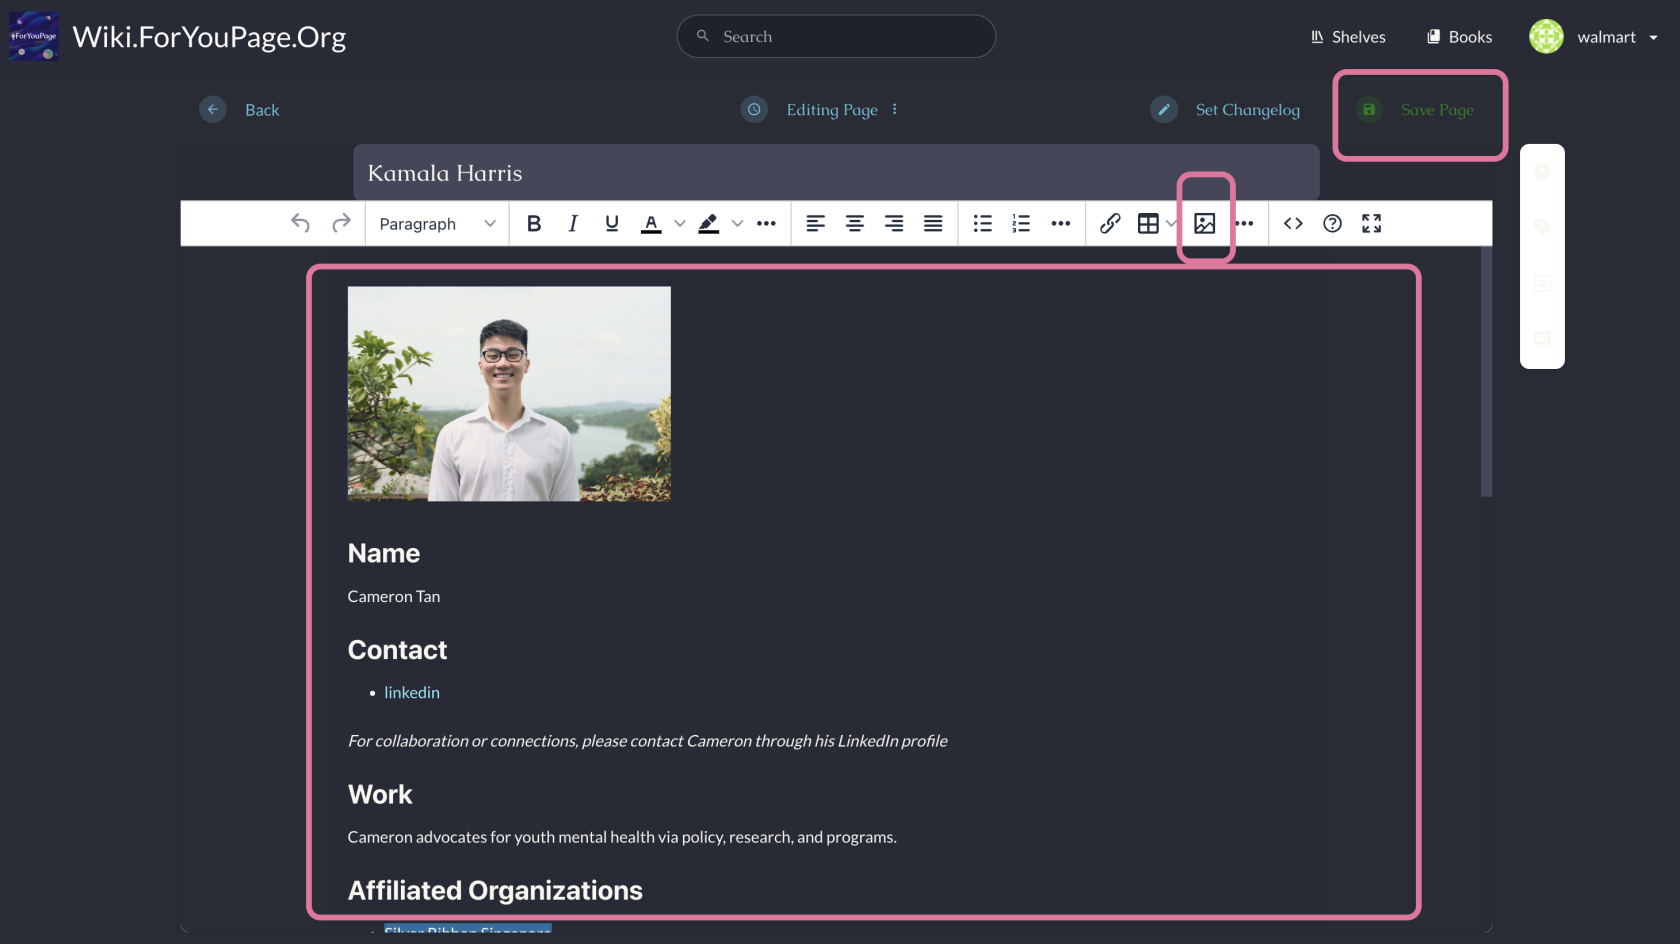
Step 7. Add a Profile Picture
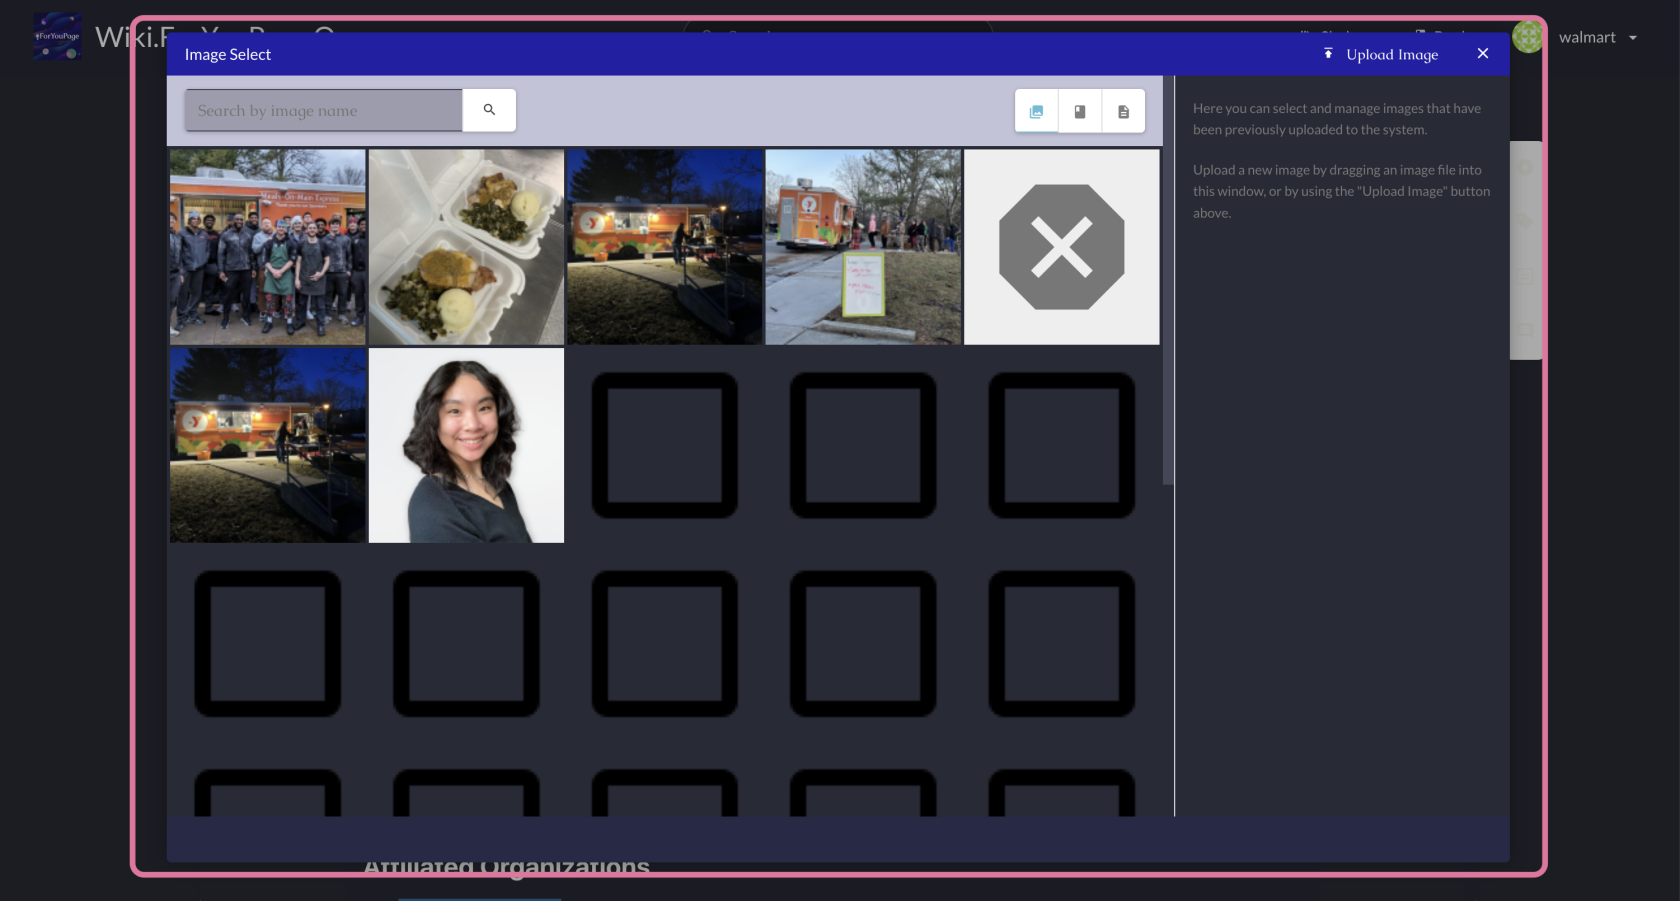
- Look for an "Add Image" or camera icon in the editing toolbar.
- Click it and select "Upload" to choose a file from your device.
- Select your profile picture and confirm the upload.
Step 8. Save Your Page
-
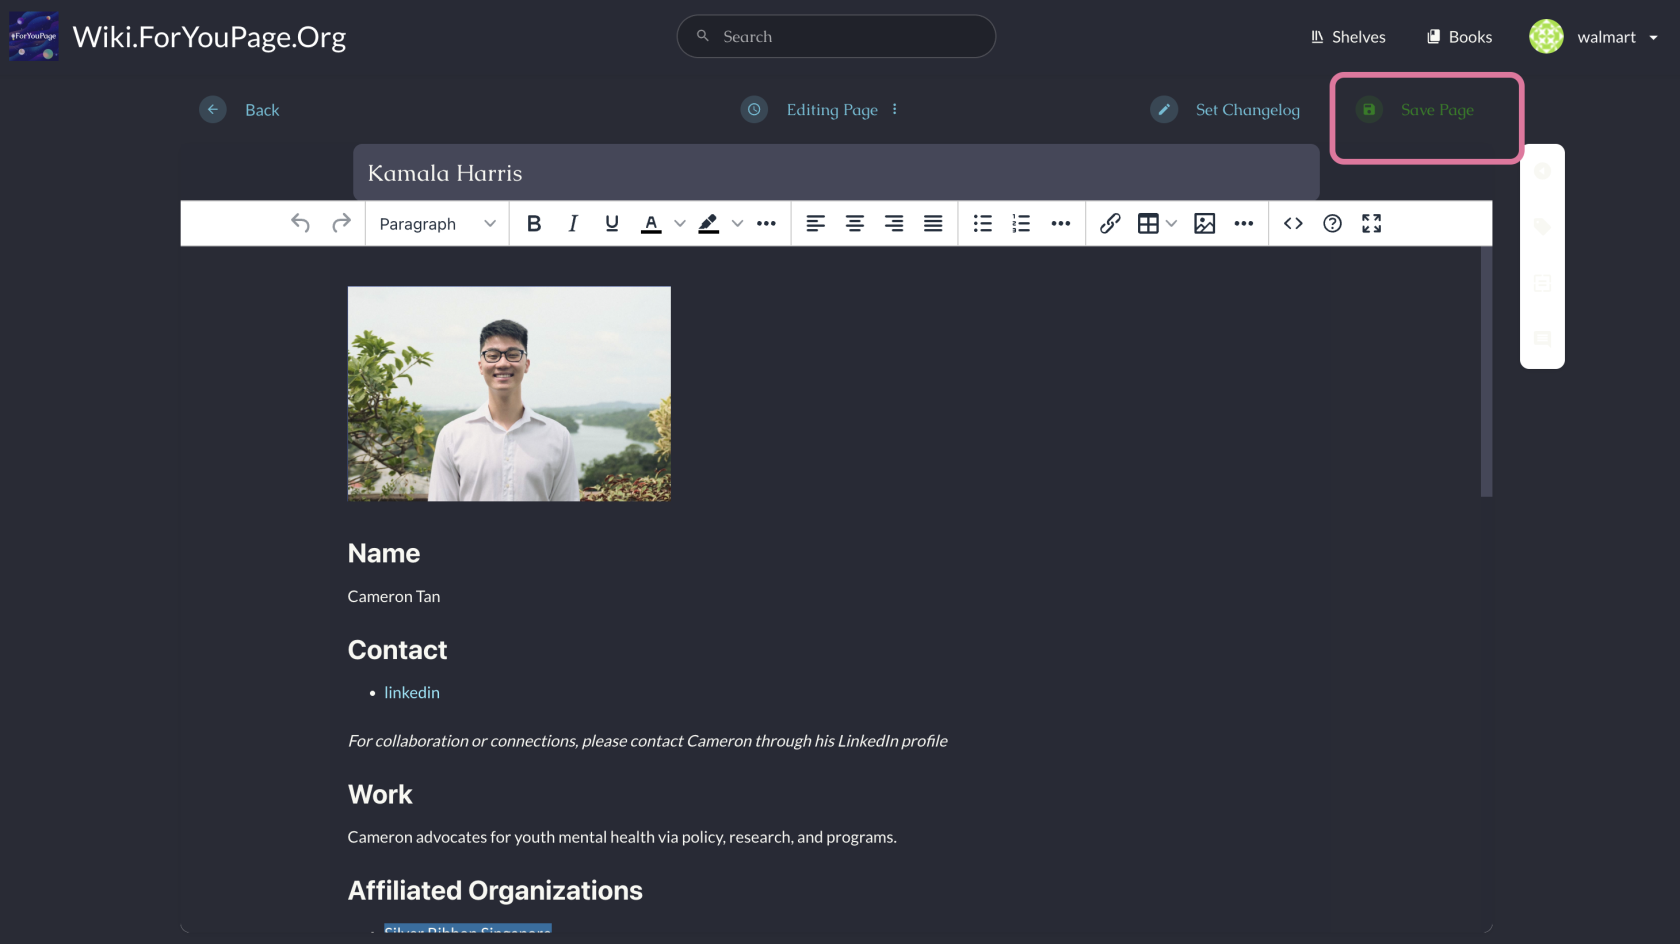
- After editing, locate the "Save" button, usually at the top or bottom of the editing interface.
- Click this button to save your changes and make your page live.
Step 9. Review and Edit (Optional)
-
- After saving, you'll be taken to the view mode of your page.
- Carefully review all the information for accuracy and completeness.
- If you need to make changes, click the "Edit" button again, which is typically near the top of the page.
Step 10. Share Your Page
-
- You can now share this link on social media or with your network.


